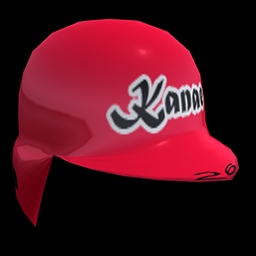
Let's make the following baseball helmet by TATARA 6.0.
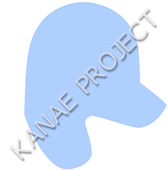
To make this, I prepared the following background images of helmet.
 The side of the helmet |  The back of the helmet |
Let's make the baseball helmet by the following steps.
1) Choose 32x32 of SPHERE by New on the File menu.
2) Make the helmet body (part of the hemisphere) of the helmet in ROKURO mode.
3) Make the nose of the eaves of the helmet.
4) Make the tip of the earmuffs of the helmet.
5) Choose Folder on the Sides menu.
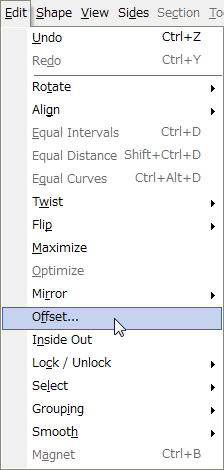
6) To make texture easily, choose Offset on the Edit menu.
7) Make texture and check it on preview pane.
8) Choose Save on the File menu, and maximize and save the sculpt map file.
You can check this tutorial by following video.
TATARA resizes the read background image automatically. So, if you make a background image, please remove the space.
Choose New on the File menu.
On the New dialog, choose 32x32 of SPHERE and click the OK button. 
Click ROKURO tab and change to ROKURO mode.
To edit it easily, set Edit Level in the lower part of the Edit pane as Middle. 
Choose Load Background on the View menu and display the following background image. 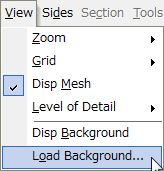
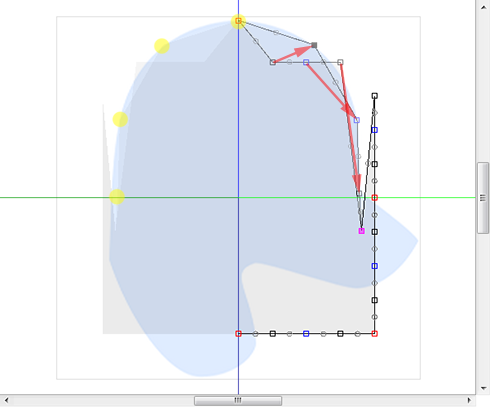
Choose two control points of the following figure and rearrange them. Arrange the right hand side control point in the position which overlaps with the silhouette at the left end of the helmet. The yellow line shows it.
As shown in the following figure, arrange three control points. Arrange the rightmost control point to the boundary line of the body and the collar of the helmet.
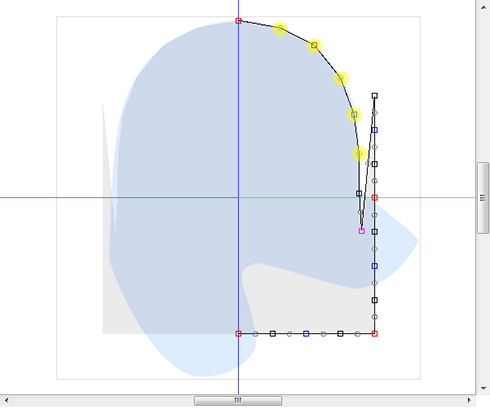
Let's arrange the control point of the helmet body equally.
As shown in the following figure, choose the control points which constitutes the body of the helmet.
Right-click the edit pane and choose Equal Distance on the popup menu. The shortcut of the keyboard is Shift+Ctrl+D.
Do this several times until the selected control points aren’t rearranged.
Then, it is rearranged as follows.
Rearrange the control points shown on the yellow points to smooth the form of the helmet body.
As shown in the following figure, arrange the control points on the back side of the helmet body.
Rearrange the round gray control points on the back side of the helmet body shown on the yellow points of the lower figure.
As shown in the following figure, choose the left-behind control points which are shown in red area.
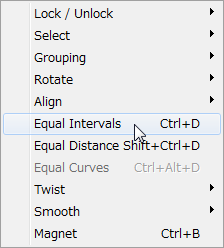
Right-click the edit pane and choose Equal Intervals of the popup menu.
The shortcut of the keyboard is Ctrl+D.
The edit pane is displayed as follows. The selected control points were gathered in yellow area.
Without canceling selection, Right-click the edit pane and choose Magnet of the popup menu. The shortcut of the keyboard is Ctrl+B.
The edge of the helmet was gathered in one point.
As shown in the following figure, rearrange the control points of yellow area, respectively so that the left-hand side of the helmet overlaps with the silhouette.
Now, the helmet body was completed. Let's make the collar and earmuffs of the helmet.
Let's make the collar of the helmet. Let's edit only the section currently displayed in ROKURO mode.
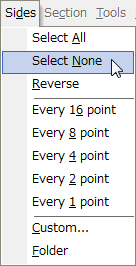
Choose Select None on the Sides menu.
The display of the preview changes as follows. The lines of the section by which edit is not reflected changes to gray.
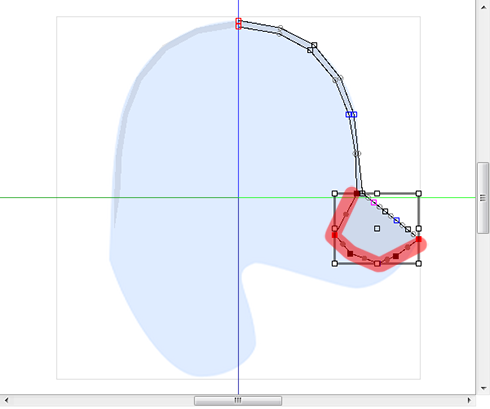
As shown in the following figure, rearrange the control point gathered in the edge of the helmet.
Let's arrange the control point of collar equally.
As shown in the following figure, choose the control points on the front side of collar.
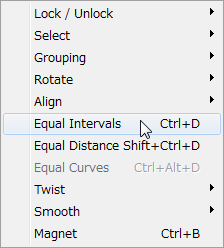
Right-click the edit pane and choose Equal Intervals on the pop up menu. The shortcut of the keyboard is Ctrl+D.
Let's arrange the control point on the back side of collar equally.
As shown in the following figure, choose the control points on the back side of the collar.
The control points of the section currently edited are arranged as shown in the following figure.
Let's make earmuffs.
Click < button in the lower left of the edit pane, and set to 00 from 40 the number of the section edited now.
The preview is displayed as follows. The section displayed on the edit pane is inserted by the orange lines.
Choose Load Backgroud on the View menu and display the background image of the back of the following helmet. 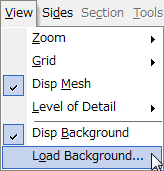
As shown in the following figure, rearrange the control points which constitutes earmuffs.
The control points are arranged as shown in the following figure.
Two sections were edited. Let's make the edit result reflect in other sections by Folder on the Sides menu.
The Folder function rearranges smoothly the control points where the section which are not chosen by the selected sections are not locked.
Change the section which clicks and displays < button in the lower right of the edit pane as shown in the following figure, and when you display the section of 00, B0, 70, 40, and 10, click and choose the button in which the name of the central section was written.
If you click a central button, edit will be reflected even if the section of the pushed number is not displayed on the edit pane.
The preview is displayed as follows. Red area were chosen.
They are not gray but the colors of the section.
Choose Folder on the Sides menu.
The preview is displayed as shown in the following figure.
Let's change arrangement of a control point so that you make the texture easily.
Choose Offset on the Edit menu.
Set X as -2 of the Offset dialog, and click the OK button.
The form of the helmet was completed.
If you want to adjust arrangement of the control points, please choose Select None on the Sides menu and edit for every section.
Let's make the texture of the baseball helmet.
You can save the texture to which the number currently displayed by the preview was written, and can use it.
Choose Save on the Texture menu in the left end of the window of TATARA. 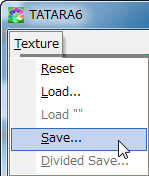
Specify the file name on the Save dialog and save it.
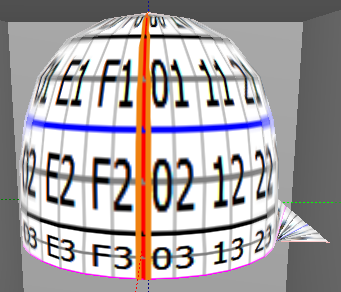
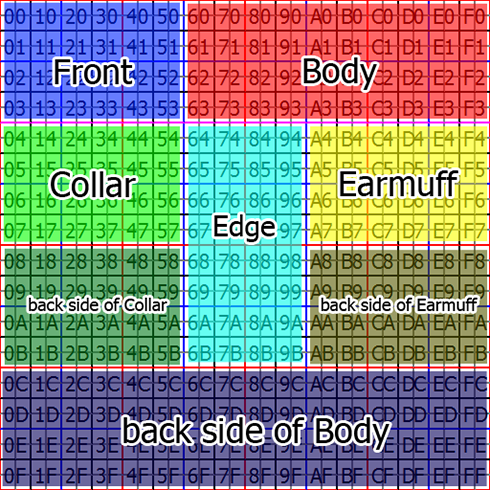
The preview of TATARA shows that textures are the following composition.
Let's open this image into the preview and check it.
Choose Load on the Texture menu. 
Specify it on the Load dialog.
The preview is displayed as follows.
In accordance with this, let's make the following texture by your graphic tools, such as GIMP or Photoshop. The size of the texture is 512x512.
Choose Load on the Texture menu. 
Specify the texture which you created on the Load dialog.
The preview is displayed as follows.
The baseball helmet was completed.
Let's save the sculpt map file by TATARA. Let's check Setup before saving.
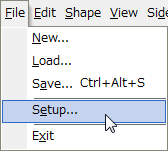
Choose Setup on the File menu.
Set TGA Save Size as 64x64 in the displayed dialog.
And let's check the following items.
-Copy Protection by transparent When the prim is modified, you can make it transparent to prevent the texture from being copied by screen capture.
-Auto Maximize The object saved when you save your sculpt map file is maximized automatically. 
If you check Auto Rename, overwrite of the sculpt-map file is prevented.
Let's save the sculpt-map file by TGA File format.
Select TGA File of SaveDialog and save the file.
Let’s upload texture file.
It costs 10L$ to upload one texture file.
Select Upload - Image (L$10) on the Build menu.
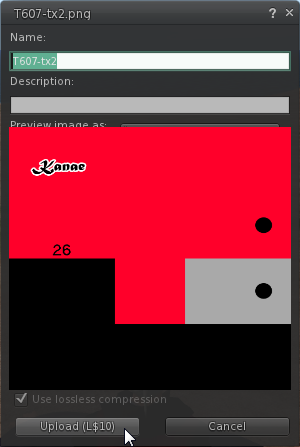
Select the texture file, and click Upload button after checking by preview.
Let’s upload sculpt-map file.
When you upload a sculpt-map file, be sure to choose Upload Image. Select Upload - Image (L$10) on the Build menu.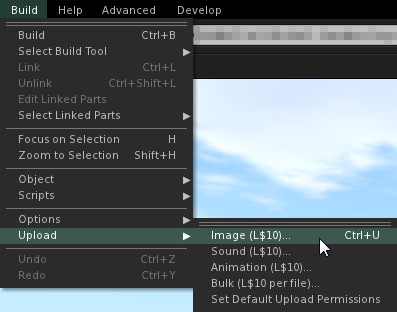
Specify “Preview image as” as Sculpted Prim. And check it by the preview. Check Use lossless compression. And click Upload button.
Let's apply the uploaded sculpt map and texture to the prim.
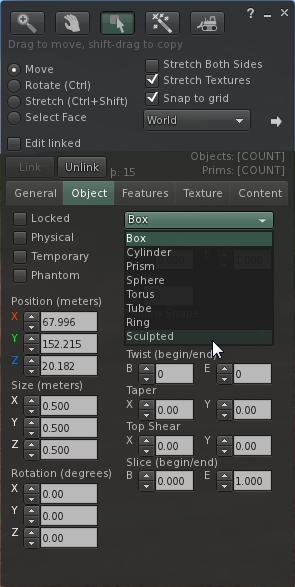
Click the Object tab. And set Building Block Type to Sculpted.
And apply the sculpt map uploaded to it.
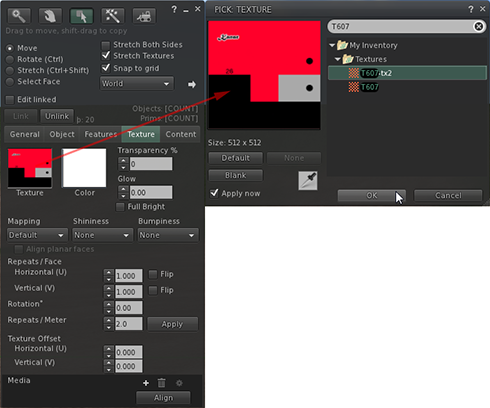
Click the Texture tab. And apply the texture uploaded to the texture of the Texture tab.
Modify the form of the cherry as follows.
The baseball helmet was completed.
Original text: http://kanaenet.blogspot.com/2011/07/t607-1.html
This article is automatically translated by the computer interpreter.
Please notify me of any mistakes in translation.
