This article is a part of SOMATO 3.0 Readme
1)Select File>>Open Object from the menu and you can load a sculpted prim. 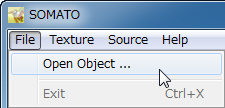
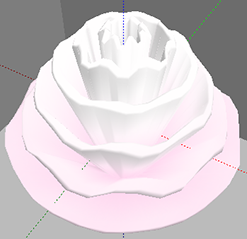
The sculpted prim which you loaded is displayed in the preview pane. 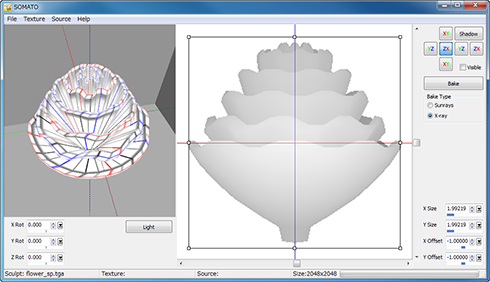
*You can also drop your sculpt map file into the preview pane.
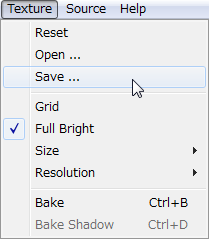
2)Select Texture>>Size from the menu and you can select the size of texture which will be made by SOMATO. 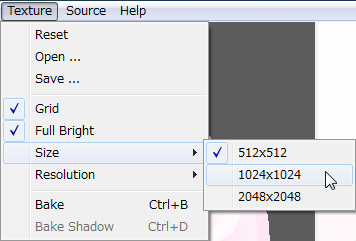
*You can select Texture>>Resolution from the menu and you can select Sunrays resolution.
3)Choose the direction to project with the XYZ projection buttons. 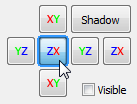
You can choose from the six directions of the XYZ axis the direction which projects the image on a sculpted prim.
Dark colors indicate a longer distance and the background is displayed brightly.
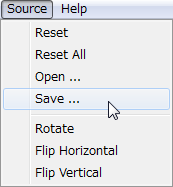
4)Select Source>>Save from the menu and you can save this image.
*This step can be skipped if you have the image traced to make a sculpted prim.
 |  saved image |
5)Create the image which fits a sculpted prim exactly using the image which had been saved.
 | You can change the size of the image. You can change the aspect ratio of the image. |
6)Select the Source>>Open from the menu and you can load the image to project. 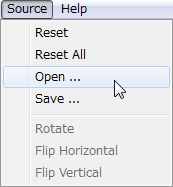
The size of the picture projected is adjusted automatically. The loaded picture is displayed on right-hand side. 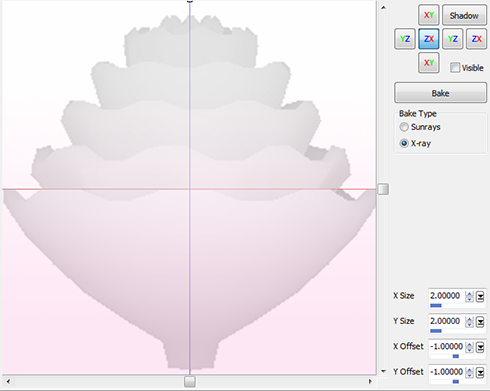
This is the image you wish to base your new prim texture on.
*You can dorp the image file to project into edit pane.
7)Select Bake Type. Then click the Bake button.
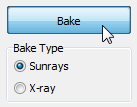 | Sunrays projects an image only the place where light hits. X-ray projects an image also on the back side. The image is projected on your sculpted prim. You can check the results in the preview pane. |
8)Select Texture>>Save from the menu and you can save new projected texture.
 |  saved texture |
You can check the video tutorial.

This article is automatically translated by the computer interpreter.
Please notify me of any mistakes in translation.


